
Gluten Free Cinnamon Rolls
cozy brunch, anyone?!
Cinnamon rolls are one of those breakfasts I thought were a thing of my past after going gluten free. It’s been a blessing (and a little bit of a curse) that the gluten free trend has skyrocketed in the last 10+ years since I ditched wheat — the products are better, baking is better, and now… we have cinnamon rolls!
The only thing that stopped me from making them myself for so long (outside of the gluten problem) was that I remembered them always taking sooo longgg to make , if not coming from a poppable roll of cardboard.
Not only has this recipe fixed my craving for cinnamon rolls that are gluten free and delicious, but also the time problem — these are ready in 1 hour.
You read that right.
If you have…
1 hour
11 ingredients
& a sweet tooth for brunch
… then you’re going to want to save this one, quick!
These gluten free cinnamon rolls are so simple… I promise, don’t get discouraged when you read through the steps! The toughest part is not scorching the yeast when you start. After that, it’s just a step by step!
What makes my cinnamon rolls a little different is I added protein powder into the mix. It’s not going to fill a whole protein portion for brunch, but that little bit of extra protein will make these a little more filling, balance the blood sugar more than it would without, and I used this amazing cinnamon flavored protein powder that gave these rolls crazy good flavor! (Find it HERE).
Whether you’re having the girls over for brunch, or a slow Saturday home alone — you need these cinnamon rolls in your life. So, let’s get to it!
Gluten Free Cinnamon Rolls
Prep Time: 30 minutes
Cook Time: 30 minutes
Servings: 8-10 rolls
INGREDIENTS
Wet:
1 c unsweetened almond milk, or milk of chocie
2 Tbsp. sugar or coconut sugar
1 packet active dry yeast (find it in your store’s baking isle! - Something like THIS)
Dry:
2 c gluten free flour mix ( I like Bob’s Red Mill 1:1)
1/2 c almond flour
2 scoops protein powder, cinnamon or vanilla flavor
2 tsp. baking powder
1/2 tsp salt
4 Tbsp. butter, cold
Filling:
4 Tbsp. butter, melted
1/2 c brown sugar or coconut sugar
2-4 tsp. ground cinnamon
INSTRUCTIONS
Preheat the oven to 350 deg F.
Heat milk in a microwave safe glass bowl or measuring cup to approx. 110 deg F. *Don’t heat it too high! If the milk is too hot it will kill the yeast!
Once the milk is to temperature, add the 2 Tbsp. sugar and stir to melt. Add the yeast and stir again. Set aside for 10-12 minutes, or until it becomes “puffy.”
While the yeast is proofing, add the gluten free flour, almond flour, protein powder, basking soda, and salt into a medium mixing bowl. Whisk to combine.
Then add the cold butter and using a fork or pastry cutter, “cut” the butter into the dry ingredients. *It helps to add the butter in small cubes to start! It should look similar to wet sand when done.
After the yeast mixture is “puffy” pour into your dry mixture about 1/3 at a time, stirring in between. The dough should be moist, but moldable — think cookie dough! *Dough too wet? Just add a little flour!
Wrap a large cutting board in plastic wrap and secure around the edges by tucking the plastic underneath. Generously sprinkle gluten free flour to coat the wrap.
Add dough onto the center of the cutting board, and tpo with more flour. Place another plastic sheet on top of the dough.
Use a rolling pin to roll out the dough into a long rectangle shape. Thickness should be around 1/8-1/4 inch thick.
Remove the top layer of plastic and brush the melted butter onto the dough.
Sprinkle the brown sugar and cinnamon evenly across the dough.
Carefully using the bottom layer of plastic wrap, roll the dough lengthwise into a long cylinder. Remove the wrap.
Using a serrated knife, cut the cylinder into rolls equal in size. Place each roll into a greased baking dish. *Rolls may be fragile, so be gentle!
Cover the baking dish with plastic wrap and set on top of the warm oven for 15 minutes and allow the rolls to rise. *They won’t be as big and puffy as non-gluten free rolls, but a little rising helps!
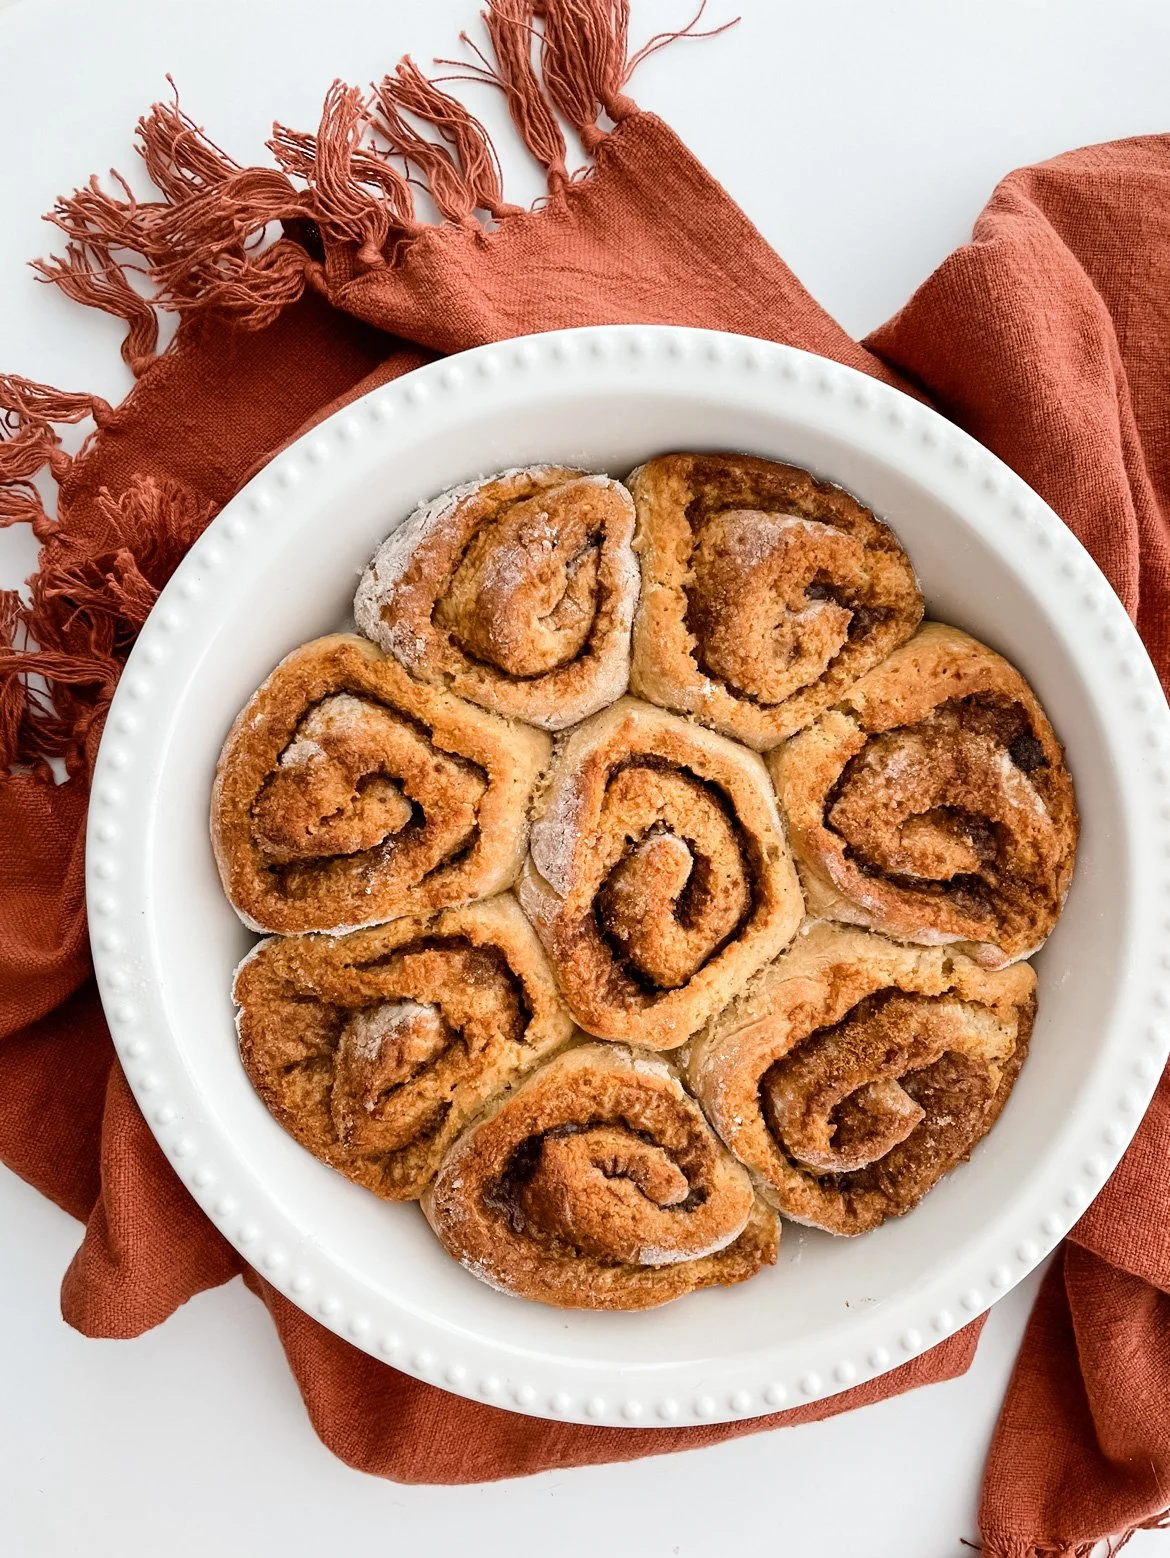
Remove the plastic wrap and place the baking dish in the oven to bake for 30 minutes or until golden brown.
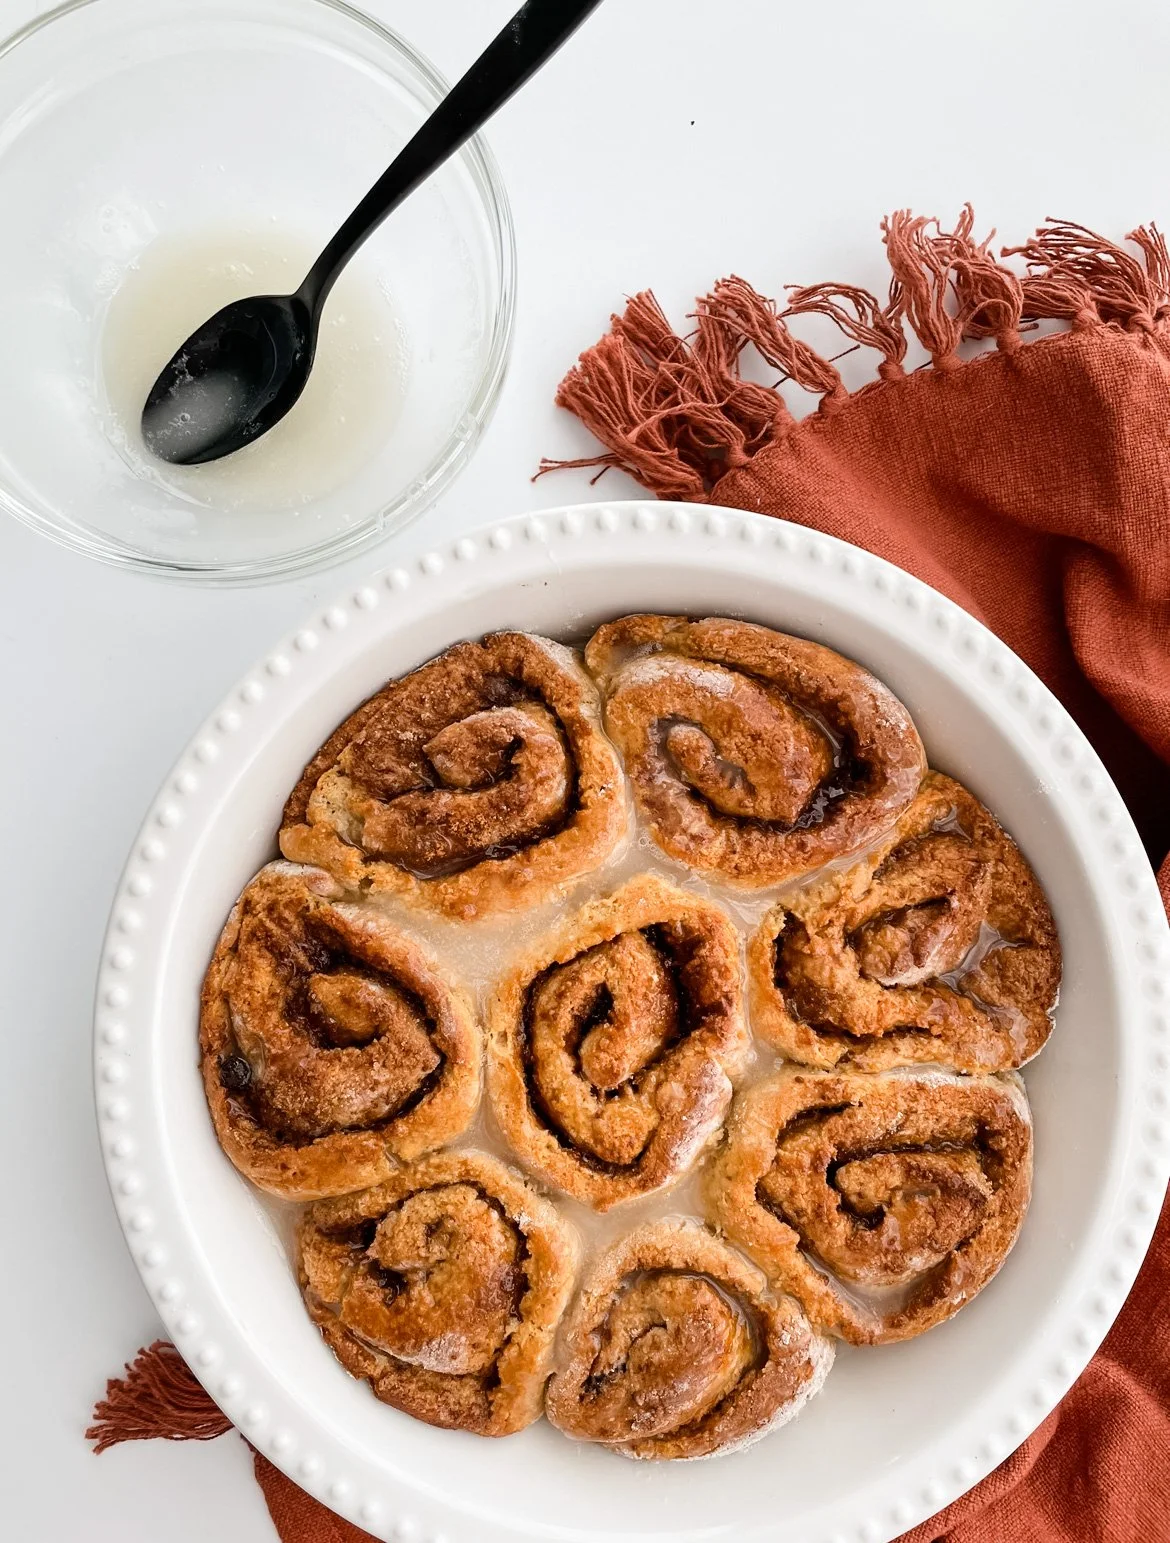
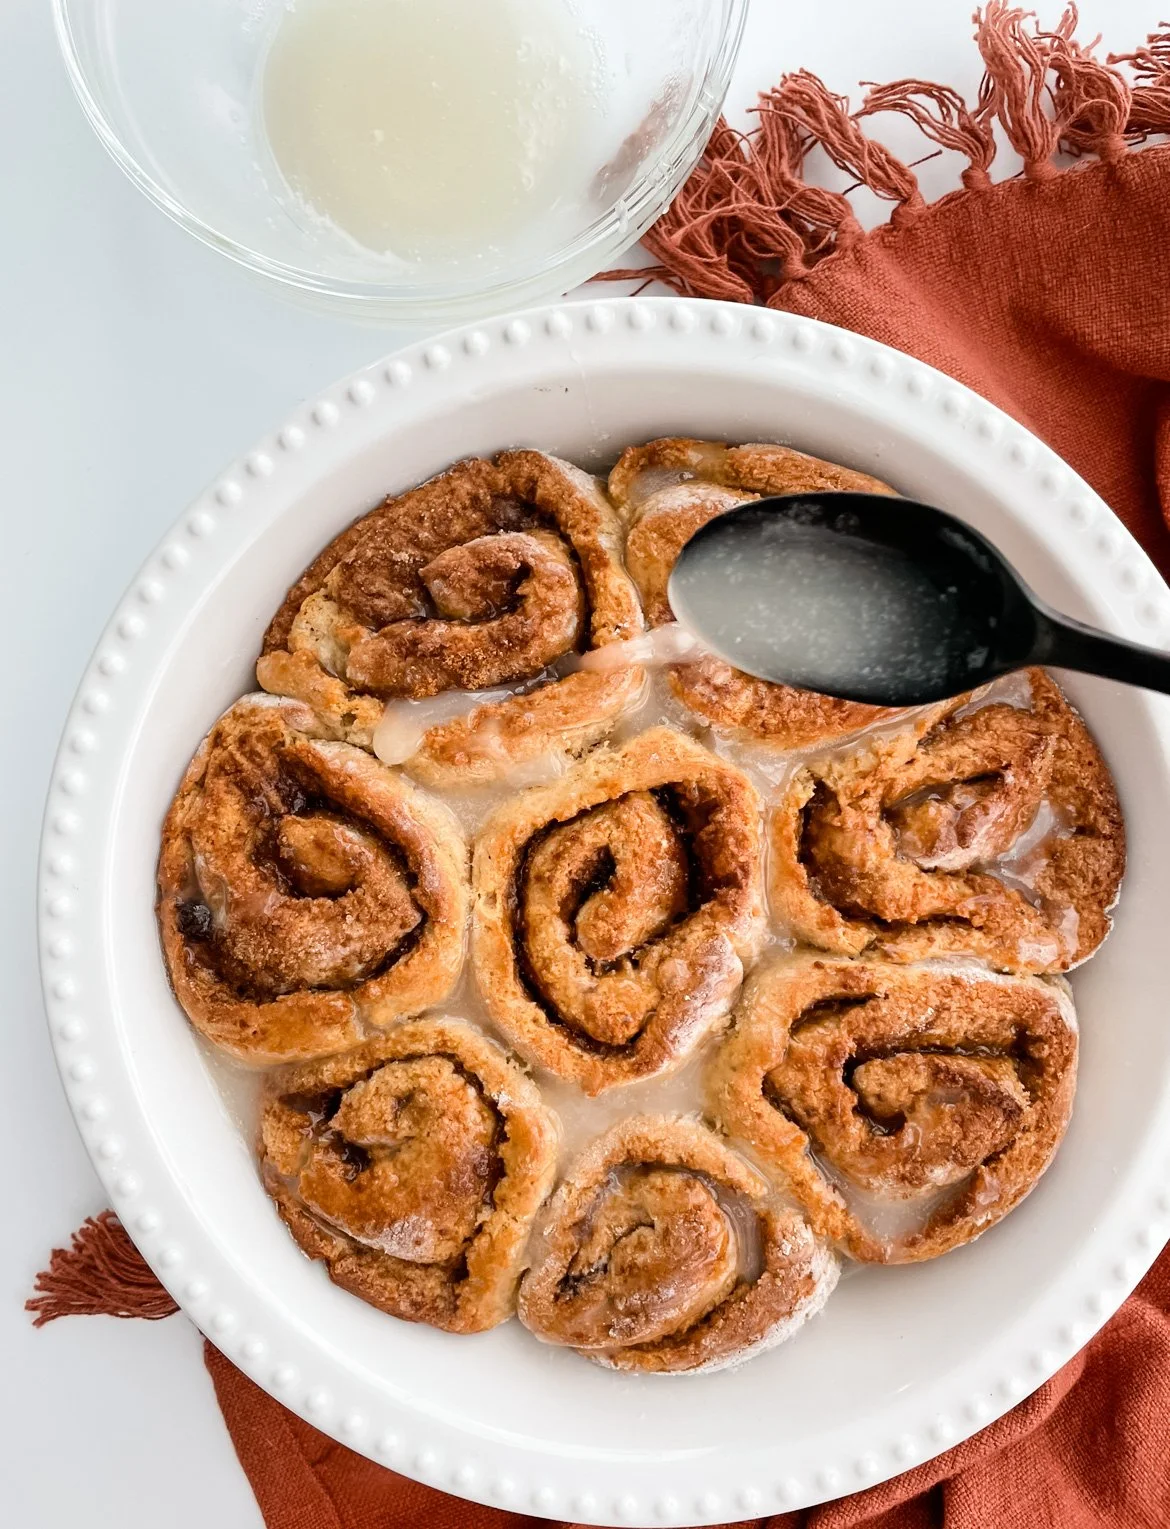
After baking, allow to cool for a few minutes before frosting (optional) and serving.
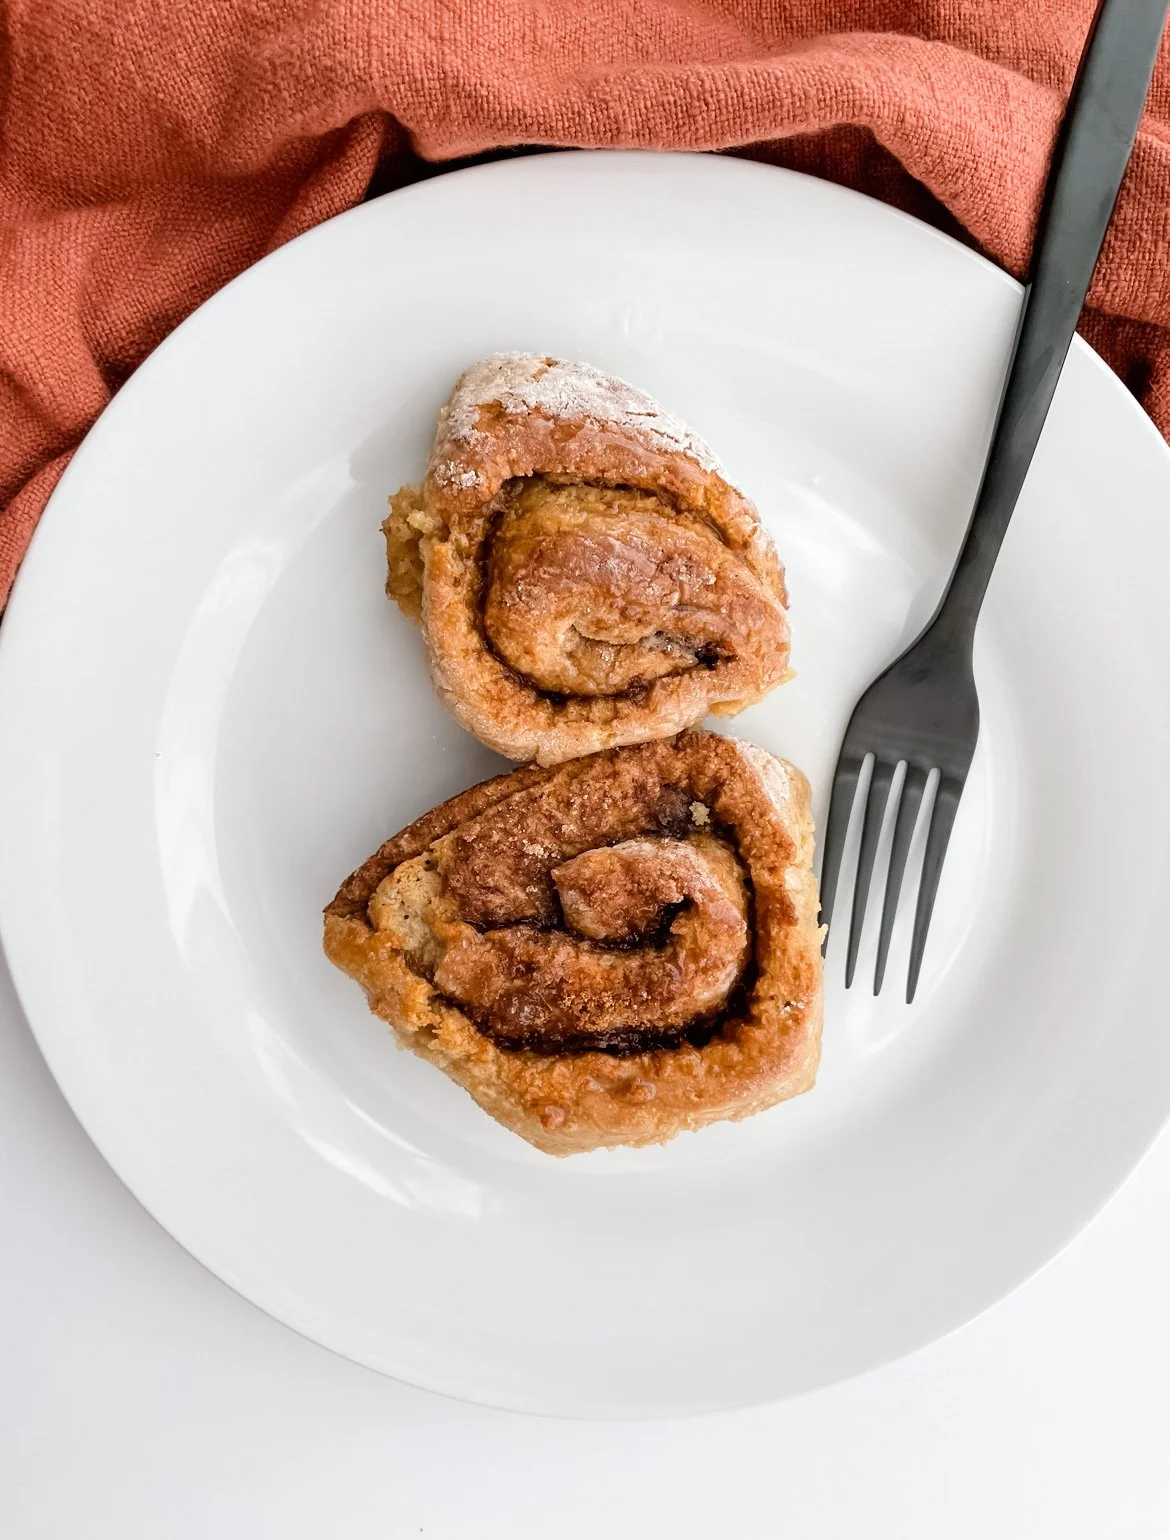
ENJOY!
Tips!
Heat your milk for 30 seconds to a minute at a time and test the temperature! Depending on how your microwave heats, the time could vary.
Roll out half of the dough at a time! This is what I do and I feel like my rolls come out much better than trying to do it all at once!
DIY a simple glaze by whisking together 1 c powdered sugar & 2-3 Tbsp. milk of choice! Or opt for a cream cheese frosting you love!
Make the rolls ahead of time, pop them in the fridge until you’re ready to bake! Just leave the dish of rols covered on the stove while the oven warms!
Use these for a prepped breakfast! Adding yogurt, fruit, or paired with a little extra protein makes for a balanced breakfast for your week!
Cheers!
xx,
mallory